Sitecore 9.1 comes bundled with a lot of new stuff, including a much improved Sitecore Install Framework. The process of setting up a local environment has been greatly streamlined, now you only need to run a script for installing prerequisites and then the XP0 installer itself. This gives you an instance of XConnect, Sitecore Identity server, both setup on HTTPS with trusted certificates. It will also install the Sitecore XP application for you and set it up on HTTP.
If you need to secure the Sitecore XP application as well, you could create a certificate in IIS and assign it to the HTTPS binding. However, this certificate won’t be trusted, and you’ll have the additional problem that Sitecore Identity Server won’t trust the site either, meaning you can’t log in over HTTPS. We’ll have to do a couple things to get past this.

Create a new Trusted Certificate for IIS
First, we have to make a trusted certificate and assign it to our CM site. The certificate generated by IIS won’t cut it, because it uses the SHA1 encryption algorithm which is not accepted by modern browsers. Instead, let’s do what SIF does and make a certificate using Powershell. Alter the DnsName parameter to match the hostname of the Sitecore XP instance you’re working on.
New-SelfSignedCertificate `
    -DnsName "sc910.sc" `
    -CertStoreLocation "cert:\LocalMachine\My" `
    -FriendlyName "sc910.sc" `
    -TextExtension "2.5.29.37={text}1.3.6.1.5.5.7.3.1" `
    -KeyUsage DigitalSignature,KeyEncipherment,DataEncipherment `
    -Provider "Microsoft RSA SChannel Cryptographic Provider" `
    -HashAlgorithm "SHA256"
Next we’ll need to export that certificate out of the Personal store and into the Trusted Root Certification Authority. Again, this is exactly what SIF does for XConnect and Identity Server. We can script this too, but it’s easy to do using the UI.
- In Windows, run certlm.msc. This is the Local Computer Certificate manager.
- Expand Personal -> Certificates and find the sc910.sc certificate.
- Right click, and chose Tasks -> Export. Accept the defaults and save the certificate somewhere.
- Expand Trusted Root Certification Authority, right click Certificates and choose All Tasks -> Import
- Choose your certificate file you just created, and again accept the defaults.
If you did everything correctly, you should see this certificate available in IIS when you try to set up the HTTPS binding.

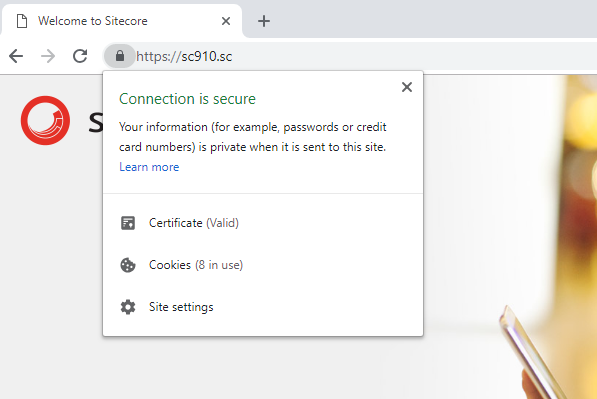
Try hitting your site in your browser, and you should not be prompted that the certificate is not trusted.

However, we still can’t log into Sitecore. The login page says our client is unauthorized. What gives?
Configure Identity Server to Allow a New Client
We have to do one more thing, and that’s tell the Sitecore Identity Server about this new binding. To do this we need to edit a config in the identity server application. Open up \Config\production\Sitecore.IdentityServer.Host.xml in your identity server application folder. Look for the <Clients> block and add a line for our new secure XP binding.
<Clients>
  <DefaultClient>
    <AllowedCorsOrigins>
      <AllowedCorsOriginsGroup1>http://sc910.sc</AllowedCorsOriginsGroup1>
      <AllowedCorsOriginsGroup2>https://sc910.sc</AllowedCorsOriginsGroup2>
    </AllowedCorsOrigins>
  </DefaultClient>
...
</Clients>
Try logging to Sitecore again, and this time you should be successful.